Introduction to Creating a Garden Bench
Enhancing your garden with a personal touch can be both rewarding and aesthetically pleasing. Building a garden bench from reclaimed wood not only adds charm to your outdoor space but also promotes sustainable practices by reusing materials. This weekend project is perfect for those looking to enrich their garden with a touch of creativity and sustainability.
Why Choose Reclaimed Wood?
Environmentally Friendly
Reclaimed wood is an environmentally responsible choice, as it reduces the demand for newly cut timber. By repurposing old wood, you're contributing to conservation efforts and reducing your carbon footprint.
Unique Character
Each piece of reclaimed wood has a story, with distinct textures and grains. This uniqueness can add warmth and character to your finished bench.
Materials and Tools Needed
Materials
- Reclaimed wood planks
- Wood screws
- Wood glue
- Sandpaper or power sander
- Outdoor wood varnish or sealant
Tools
- Saw (hand or power saw)
- Drill
- Measuring tape
- Pencil for marking
- Clamp (optional but recommended)
Step-by-Step Guide to Building Your Garden Bench
Step 1: Preparing the Wood
Begin by inspecting your reclaimed wood for any nails or staples. Remove them carefully to avoid damaging your tools later. Once cleaned, sand the wood thoroughly to smooth out splinters and rough patches.
Step 2: Designing the Bench
Sketch a simple design for your bench. Decide on the dimensions based on the available wood and the space in your garden. Make sure to consider comfort and aesthetics in your design.
Step 3: Cutting and Assembling
Based on your design, cut the wood planks to size using a saw. Assemble the frame first, joining the pieces with wood screws and glue for added stability. Use clamps to secure pieces together until the glue dries.
Step 4: Adding the Finishing Touches
Once assembled, sand any rough edges and finish the bench with a protective sealant to withstand outdoor conditions. Choose varnish or paint that complements your garden's theme.
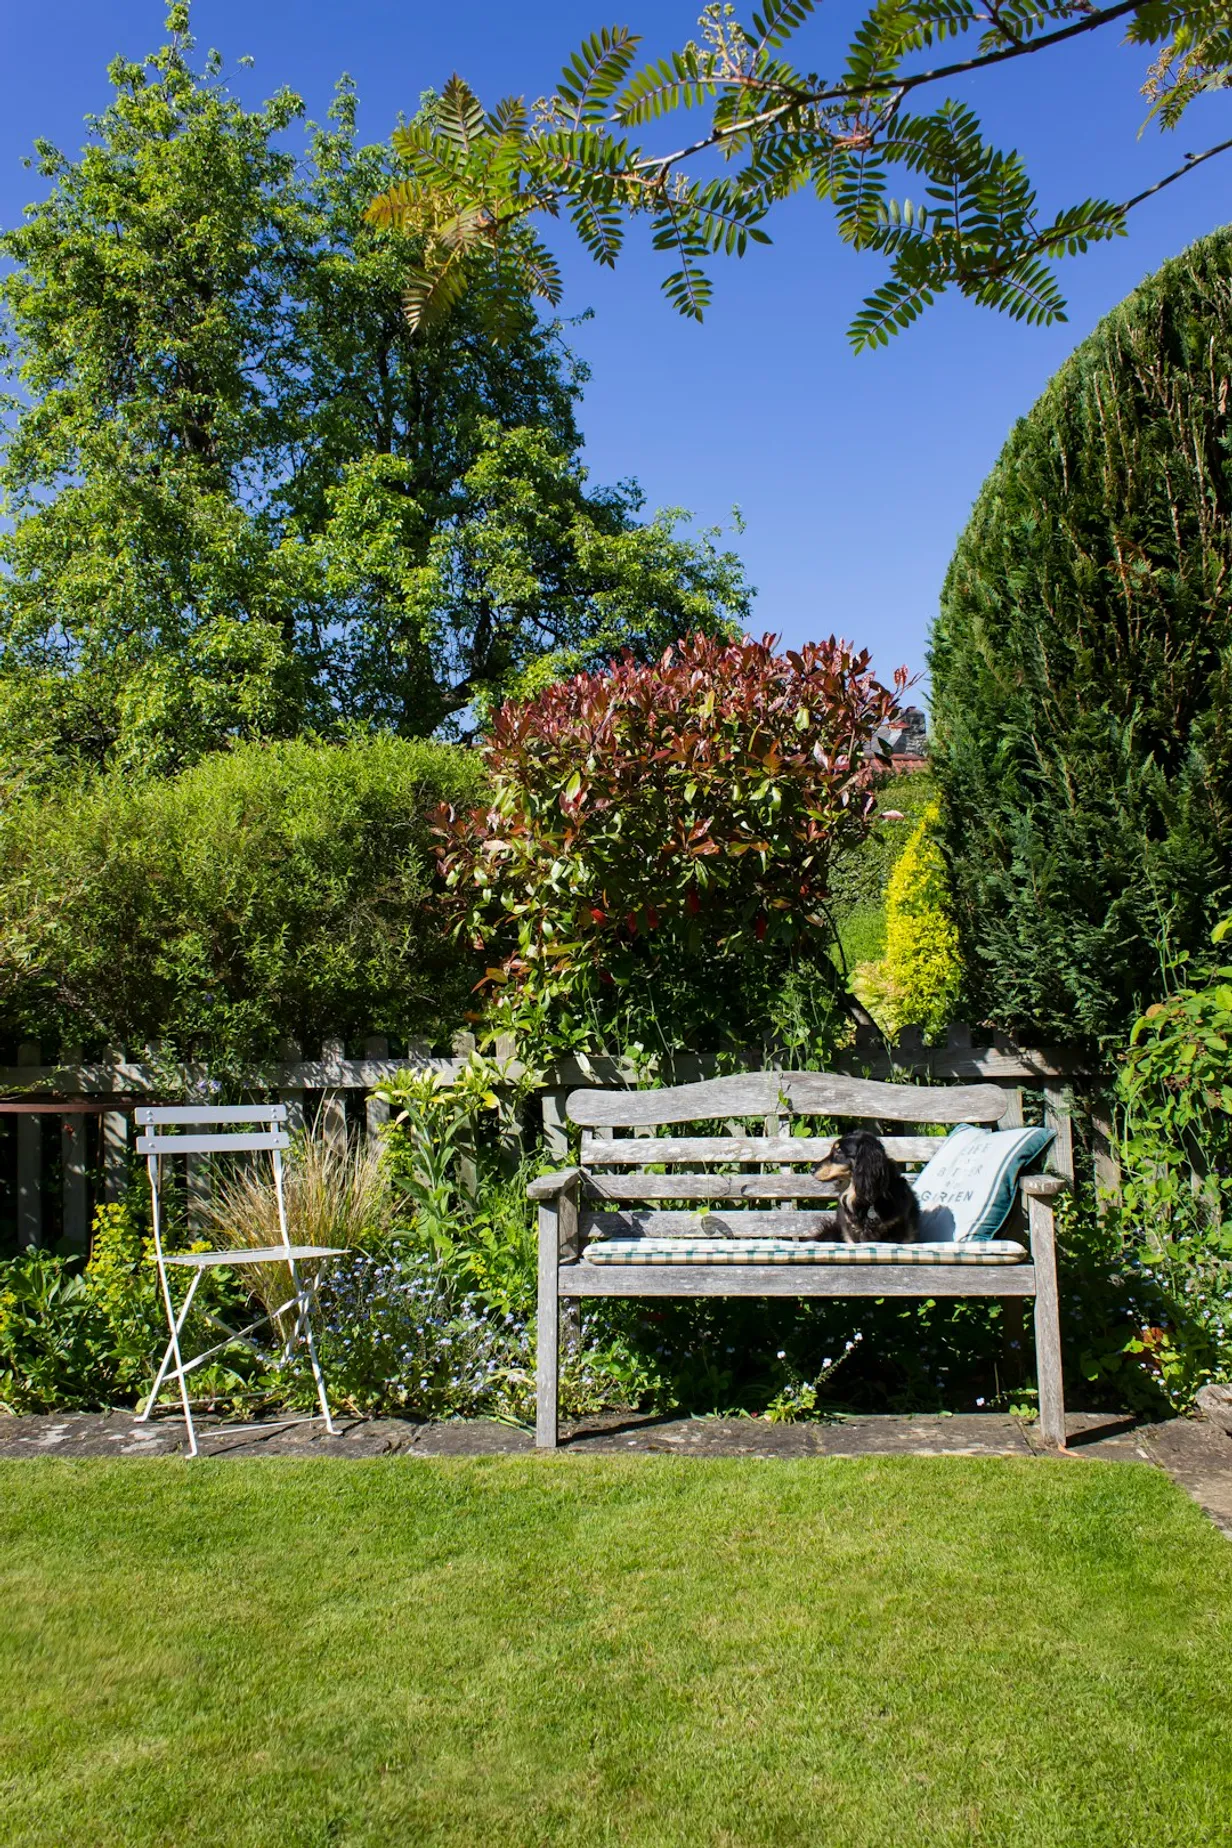
Conclusion: Enjoying Your Handmade Bench
After the sealant has dried, place your new bench in a spot where you can relax and enjoy the fruits of your labor. This DIY bench not only enhances your garden's appearance but also serves as a reminder of your commitment to sustainable practices.
Popular Gardening & Home Articles
Discover the articles that our readers love most about transforming homes and gardens into lush, relaxing sanctuaries.
Designing Your Own Garden Pathway with Stepping Stones

Preparing Your Australian Garden for Summer Success